Click on the Add Push Notification Provider button on the Channels screen.
You will be diverted to another Message Provider screen which would require you to click Add Message Provider. Click to select the Message provider Pisano supports.
Please check if any of the SMS service providers in the list are applicable.
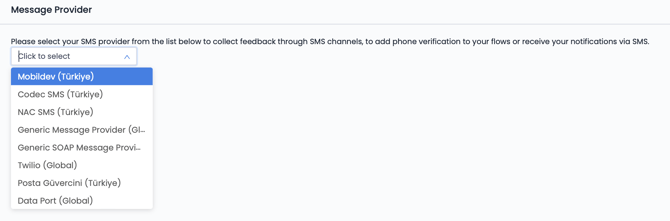
According to the selection of the SMS provider, fill out the necessary details to proceed and select Save.
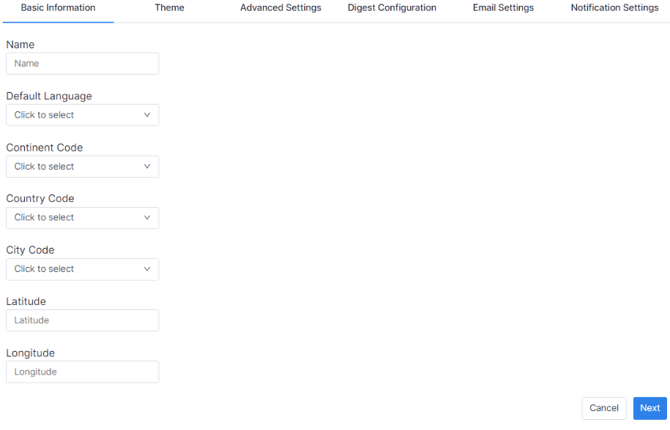
Go back to Channels and select New Push Notification Channel.
On the screen titled Basic Information, you can specify the name and language of the channel first.
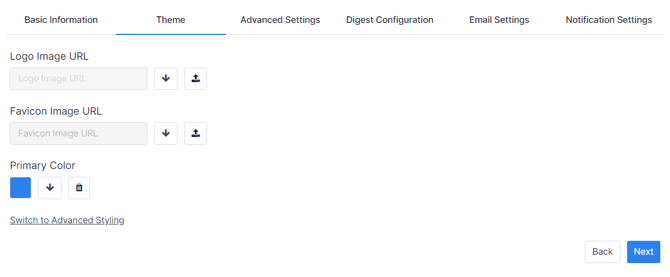
After you click the Next button, you will access the Theme section. In the theme, you can specify the logos and visual details of the channel. On this screen, you can select the logo of your channel in the section titled Logo Image URL. The Favicon Image URL section allows you to select the icon of your channel in your browser. In the Primary Color section, you can select the color to use as a general theme for the channel.
After you click the Next button, you will access the Advanced Settings section - you can set all the required details regarding the channel.
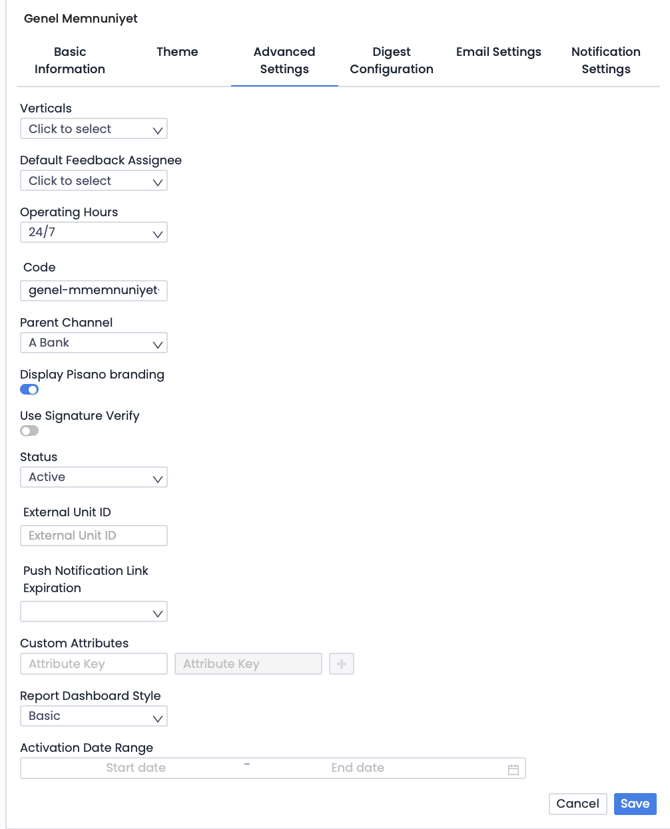
In the Verticals section, you can specify in which vertical area to use your channel. The default feedback assignee section allows you to determine who will be assigned and notified about the feedback from the channel. The operating hours section allows you to determine the times when your channel will be operational. By selecting the suitable option from 24/7 to Custom, you can determine the period in which you will receive feedback.
In the Parent Channel section, you can assign your channel to the unit it is associated with. The Status section allows you to specify the active and passive status of the channel.
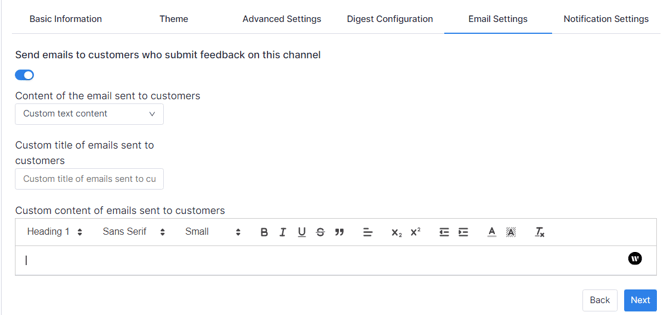
In the fourth and final stage, the Email Settings section, you can choose whether or not to send an email to customers leaving feedback through your channel.

By switching on Send emails to customers who submit feedback on this channel, the Content of the email sent to customers section enables you to create email content to be sent to all customers who leave feedback via the SMS channel.
You can create your mail content in the section Insert text here which opens after clicking on the Custom text content option.
Upon clicking on the Save button following these actions, your channel will be created. You will see the channel you created on the Push Notification Channels screen.
Select Edit Campaign to assign the relevant flow, default language and message which will be iterated to the customer - click Save and Share.
![]()
