Follow the steps below to create your own link channel.
- Head to Channels > Link Channels

- On the screen titled Basic Information, specify the Name, Default Language and Country Code of the channel first.
- Then click the Next button.

On the Theme section, you can specify the logos and visual details of the channel.
- On this screen, you can select the logo of your channel in the section titled Logo Image URL.
- The Favicon Image URL section allows you to select the icon of your channel on your browser.
- In the Primary Color section, you can select the color to use as a general theme of the channel.
- You can also click "Switch to Advanced Styling" to apply a CSS file if you have one.

- After you click the Next button, you will access the Advanced Settings section - you can set all the required details regarding the channel.

In the Verticals section, you can specify in which vertical area to use your channel.
- The Default feedback assignee section allows you to determine who will be assigned and notified about the feedback from the channel.
- The Operating hours section allows you to determine the times when your channel will be operational. By selecting the suitable option from 24/7 to Custom, you can determine the period in which you will receive feedback.
- In the Parent Channel section, you can assign your channel to the unit it is associated with.
- The Status section allows you to specify the active and passive status of the channel.
- In the final stage, the Email Settings section, you can choose whether or not to send an email to customers leaving feedback through your channel.
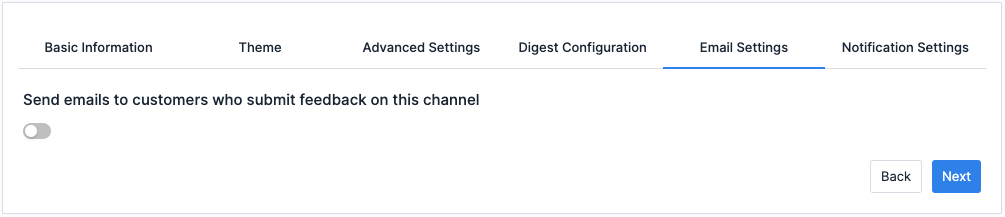
When you switch on the Send emails to customers who submit feedback on this channel, you will be able to enter the contents of the e-mail you wish to send to customers.
Upon clicking on the Save button following these actions, your channel will be created. You will see the channel you created on the Link Channels screen.
Publishing Your Link Channel
Assign a Flow to Your Channel
Before the deployment, you must link your channel to the correct survey or questionnaire:
- Navigate to your listing of channels page.
- Locate your Link Channel from the list.
- Click the option to assign a flow directly from the channel row. This ensures that when customers click your link, they are directed to the correct feedback experience.
Once your flow is assigned, you click the deploy button. Here is how to use each feature on this page:
Sharing Your Survey Link
At the top of the interface, you will find your primary, direct survey URL.
- Copy to Clipboard: Click the Copy icon next to the URL field to instantly copy the full link. You can then paste this link into emails, SMS messages, website buttons, or social media posts to start gathering insights immediately.
Link Shortening
If your full survey link is too long or you need a cleaner URL for channels with character limits (like SMS), you can use the built-in URL shortener.
- Click the Generate Short Link button to create a compact, user-friendly version of your feedback URL.
QR Code Distribution
For offline feedback collection—such as on printed receipts, menus, store signage, or product packaging—you can use the automatically generated QR code.
- Download QR Code: Click the Download QR Code button to save the QR code image directly to your device. Respondents can simply scan this code with their smartphone cameras to launch your survey instantly.
Advanced Settings
If you need to configure deep links, pass metadata/parameters through the URL, or adjust specific technical behaviors for your link, click on the Advanced Settings dropdown menu to expand additional customization options.
Previewing and Saving
- Preview in New Tab: Before sending your link out to the world, use the Preview in New Tab button at the bottom of the screen to test the live user experience of your survey.
- Confirming: Once you are satisfied and ready, click Ok to finalize and save your publishing configurations.