Style changes can be made from the “ Theme” section in the relevant channel's settings. To access the settings, clink the Edit button next to the channel name. Afterwards head to the Theme section.

You can edit the primary and secondary colors as well as your logo and favicon from the themes page. To add your CSS file, click "Switch to Advanced Styling."
Afterwards, you can use the upload button to upload your CSS file from your desktop.

Once the upload is complete, you may use the generated link in CSS File URL (React App) to edit your CSS if you need to.

Selective (selector) information of target html elements can be obtained by opening the flow in the relevant channel via the browser.
Ex:
The first page can be selected with the .components.P1 selector.
Star question can be selected with .component.star
the main background color is changed from the .container selector. (default: #fff)
The star question with .component.star is changed from the selectable main background color .container selector. (default: #fff)
.pisano-star-group > and star icon list can be accessed
The tooltip element is accessed with .pisano-start .tooltip-div > (display: none)

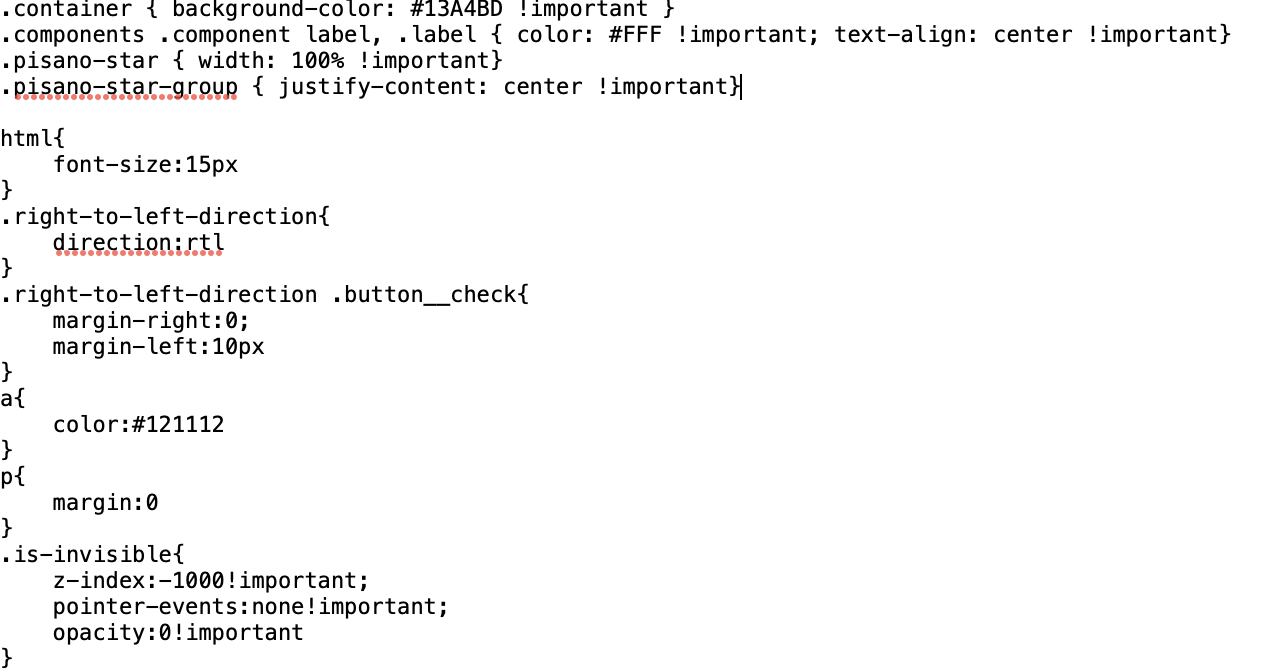
The following example CSS has been created for this flow:
.container { background-color: #13A4BD !important }
.components .component label, .label { color: #FFF !important; text-align: center !important}
.pisano-star { width: 100% !important}
.pisano-star-group { justify-content: center !important}
Then, the above "Customised CSS" is added to the head of the Master CSS file from url in the "CSS Style File (React app)" section and the file is saved with the .css extension on the local computer.
Sample file content:

Please add !important.
Afterwards, this local file is saved and uploaded into the first area titled CSS File URL and saved.
After saving, the link in the first section is copied and pasted onto the second section (CSS File URL React App) and saved once more.

Thus, the same URLs are included in both of the input sections in the "Go to Advanced Styling" step. CSS regulation for the relevant flow is thus made.
Example CSS file url:
https://pisano.com.tr/pisano-nodes/stylesheets/620/f27/14-/original/axa.css?1632391370
Additional information/method: All lines of the default file opened in the browser are copied to display the default CSS from CSS Style File (React app) in uniform format:
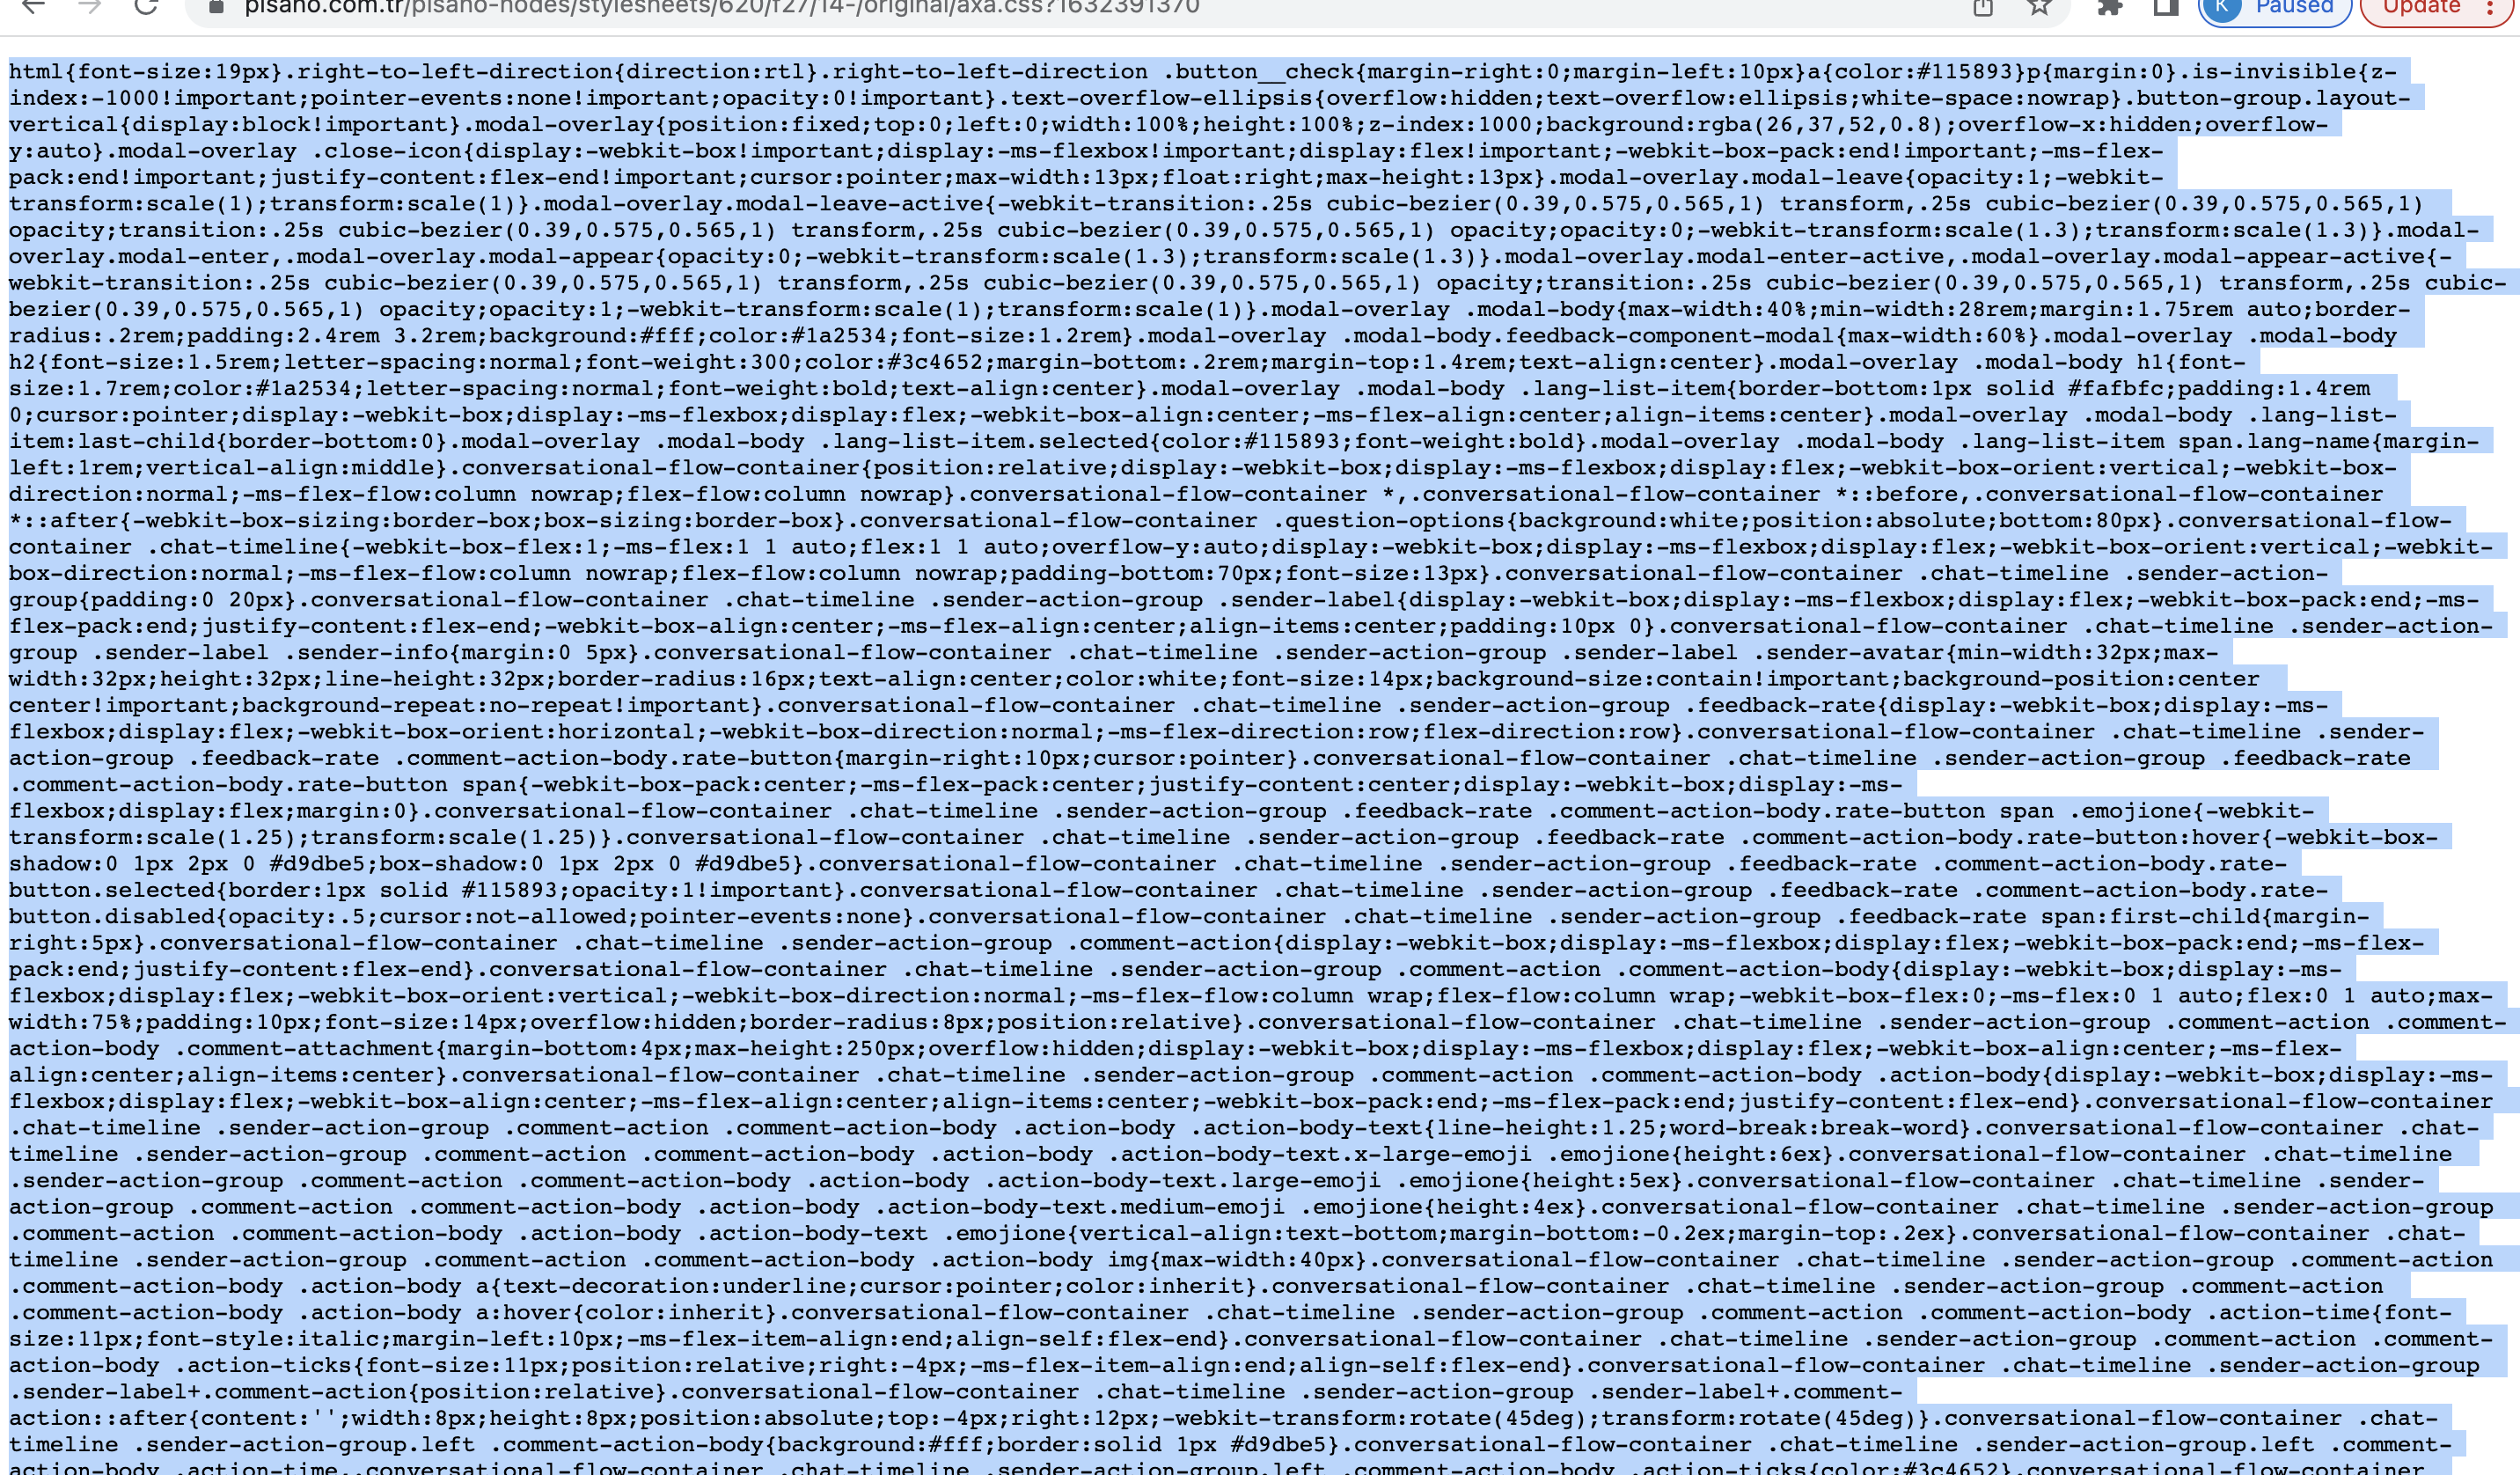
Formatted by pasting into any online CSS formatter (CSS Formatter):
Formatted default CSS lines are saved by copying and creating a file with a .css extension locally (it is recommended to be saved as two seperate files. One of the files is the backup of the original and the other is the version to be updated) :

After this point, the questionnaire page is inspected on the browser as shown at the beginning of the article and the relevant fields are identified:

Or the relevant fields you want can be addressed and updated on the CSS that comes by default, and saved locally:

This locally created file is then uploaded and saved to the CSS File URL section in the first input opened by clicking "Switch to Advanced Editing" in the "Theme" section of the relevant channel.
After saving, the URL in the CSS Style File URL section (first input) is copied as is, pasted into the CSS Style File (React app) section below (second input) and saved again.
Thus, the same URLs will be included in the two inputs in the "Switch to Advanced Editing" step. CSS editing is thus made for the relevant flow.