Pisano'da Nasıl Kanal Oluşturulur?
Pisano'da Kanal Kurulum Ayarları
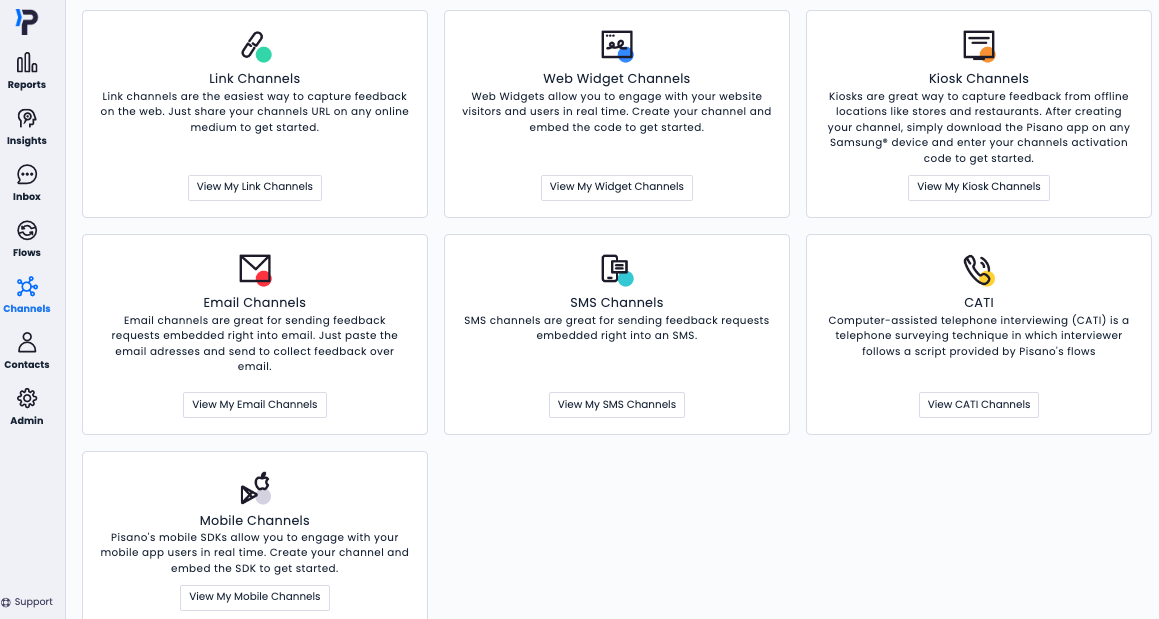
After clicking Channels module from the left menu, select the Channel you want to use and click Add on the upper right side of the screen.
1.

2. You can see an image of a Link Channel below.

After clicking ''ADD'' on the Basic Information screen, first of all, you should select the name and language of your channel.

Click Next, and you will be directed to the Theme section.
In the theme section, you can specify your channel's logo and image details. In this section, you can select your channel's logo from the section titled Logo Image URL or upload the logo on your computer.
Favicon Image URL provides you to select your channel's icon in your browser.
Primary Color allows you to specify the color to be used as the general theme of the channel.

Click Next, and you will be directed to the Advanced Settings section. You can define all the details about your channel in this section.

- Verticals allow you to choose the industry in which you operate
- Default Feedback Assignee, you can specify who will be assigned and notified of all feedback received through the channel.
- Operating Hours section allows you to specify the hours during which your channel will actively collect feedback. You can determine the period of time you will receive feedback by choosing the appropriate option from 24/7 and Custom options.
- Parent Channel allows you to specify which region/branch/sub-branch the channel is associated with in the hierarchical structure.
- Status allows you to specify the active or passive state of the channel. It states that when the channel's status is active, it actively collects feedback, if it is inactive, no feedback is collected.
After clicking Next, we move to the Digest Configuration section. You can edit your report settings (link) under Admin/Units (link).

In the Email Settings section, you can choose whether or not to send emails to customers who leave feedback through the channel.

When you activate your e-mail sending settings, the default setting becomes active and automatically sends the feedback summary they leave to your customers via e-mail. If you want to provide information or promotional information about your brand to your customers who leave feedback, you can do so by selecting Custom text content.
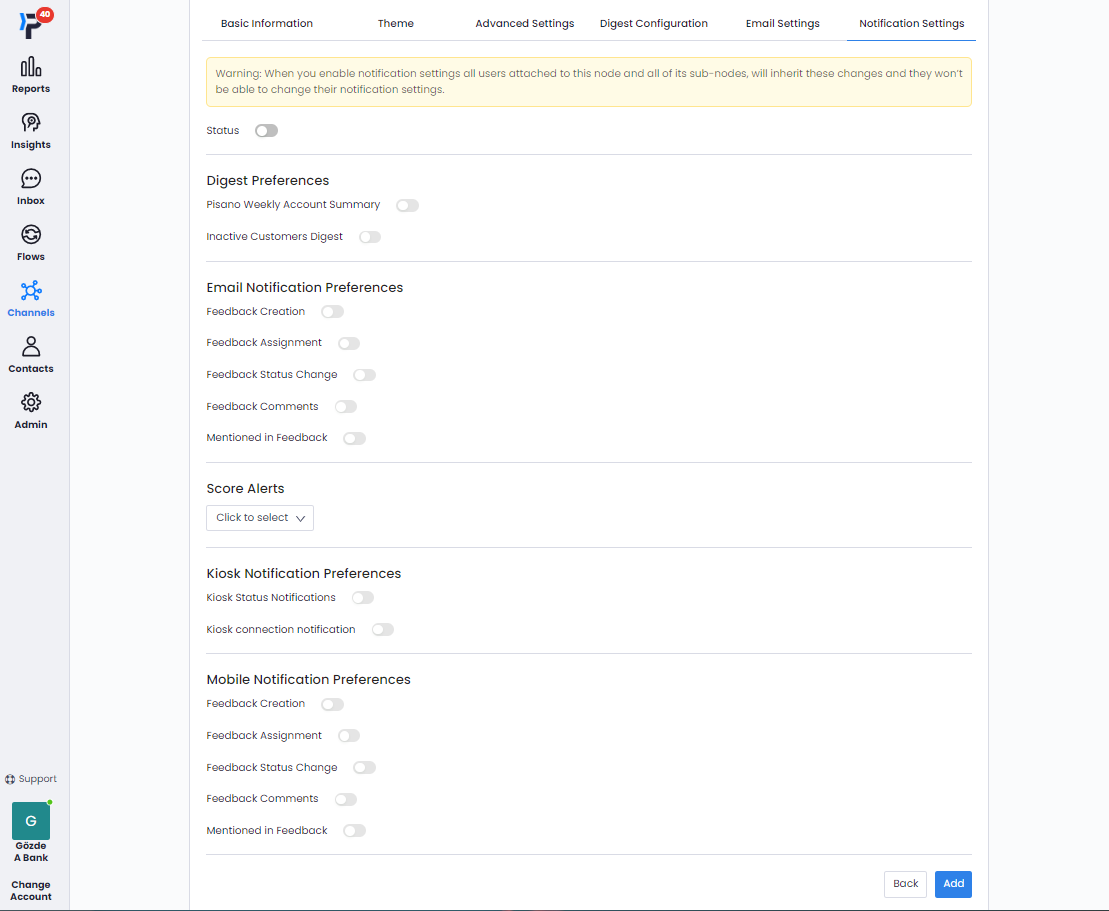
After completing your e-mail settings, we go to the last step, Notification Settings, by pressing the Next button.

You can optionally edit the status of your notification settings, such as active/passive, from this section. You can also edit your notification settings under (link) Admin/Units (link). After that, clicking the Add button will create your channel. You will be able to see the channel you created on the channel screen.
Your channel is ready.
You can check our interactive video about assigning the flow to a channel: